
Picture this: you slide into a walk‑in tub after a scorching El Mirage afternoon, and the water feels like a personal oasis just for you. That moment of pure relief is exactly why homeowners are swapping their standard tubs for the luxury of a walk‑in.
But before you start dreaming about bubbles and spa‑like serenity, there are a handful of rookie errors that can turn that dream into a costly nightmare. From misreading the space to skimping on proper drainage, the pitfalls are real and they’re easy to avoid.
We’ve boiled down the chaos into five straight‑forward mistakes you can sidestep right now, so your new tub becomes the highlight of your bathroom, not a regret. Keep reading and discover the simple steps that keep your project on track and your wallet happy.

Mistake #1 – Misreading the Space: Layout and Clearance Errors
Most homeowners grab a tape measure, eyeball the room, and call it a day. In reality, a walk‑in tub needs breathing room, and a mis‑calculated layout can turn your oasis into a cramped closet. One inch too tight and the door won’t close; two inches and you’ll be fighting the tub every morning.
Key clearance numbers you can’t ignore
- Minimum 30‑inch clearance in front of the tub for easy entry.
- At least 24‑inch side space on the wider side for handrails or a side seat.
- Door swing clearance of 36‑inches to avoid hitting the tub frame.
Don’t forget the hidden obstacles: existing plumbing, vent fans, and the location of the main water line. A quick sketch on graph paper can reveal conflicts before the contractor even steps foot in the bathroom. Plan the flow of traffic, not just the tub’s footprint, and you’ll save yourself a costly redo.
Mistake #2 – Ignoring Structural Load: Floor Reinforcement and Support
Walk‑in tubs aren’t feather‑light; they can weigh 400 lb or more when filled, plus the weight of the user. If your bathroom floor was only built for a standard tub, the extra load can crack joists or sag the subfloor. Skipping this check is a fast track to costly repairs.
Know Your Floor’s Capacity
Before you order the tub, get a clear picture of what’s underneath. A simple inspection can reveal:
- Type of joist (solid wood vs. engineered)
- Spacing between joists (typically 16″ or 24″)
- Existing reinforcement (blocking, sistered joists)
If any of these look weak, you’ll need to beef up the structure. Adding cross‑bracing or sistering joists with 2×8 lumber are common fixes that keep the floor from bowing under the tub’s weight.
Bring in the Pros (and Save Money)
Hiring a structural engineer or a licensed contractor isn’t a luxury; it’s a safeguard. They’ll calculate the exact load and recommend reinforcement that meets local building codes. Follow these steps:
- Schedule a site visit early in the design phase.
- Ask for a written load‑bearing report.
- Get a detailed plan for any needed joist reinforcement.
When the floor is solid, the walk‑in tub becomes a true oasis—not a ticking time bomb.
Mistake #3 – Skipping Proper Drainage and Waterproofing Systems
Why Drainage Matters
Even a tiny puddle can turn a luxurious walk‑in tub into a slip‑hazard fast. Without a correctly sloped floor and a well‑sized drain, water will pool under the tub and seep into the subfloor.
In El Mirage’s desert heat, the occasional burst of humidity from a hot shower can magnify the problem, leading to mold, warped flooring, and costly repairs.
Common Slip‑Ups
Homeowners often overlook these details:
- Flat floor – no 1/4‑inch per foot slope toward the drain.
- Undersized or misplaced drain – water can’t escape quickly enough.
- Skipping a waterproof membrane – the tub sits on a “wet” slab that rots over time.
How to Get It Right
Start with a licensed plumber who knows the local code. They’ll install a linear or point drain that matches the tub’s dimensions and ensure the floor is pre‑sloped.
Next, lay a liquid‑applied waterproofing membrane before any tile or decking. Test the system with a bucket of water; if it runs straight to the drain without lingering, you’re good to go.
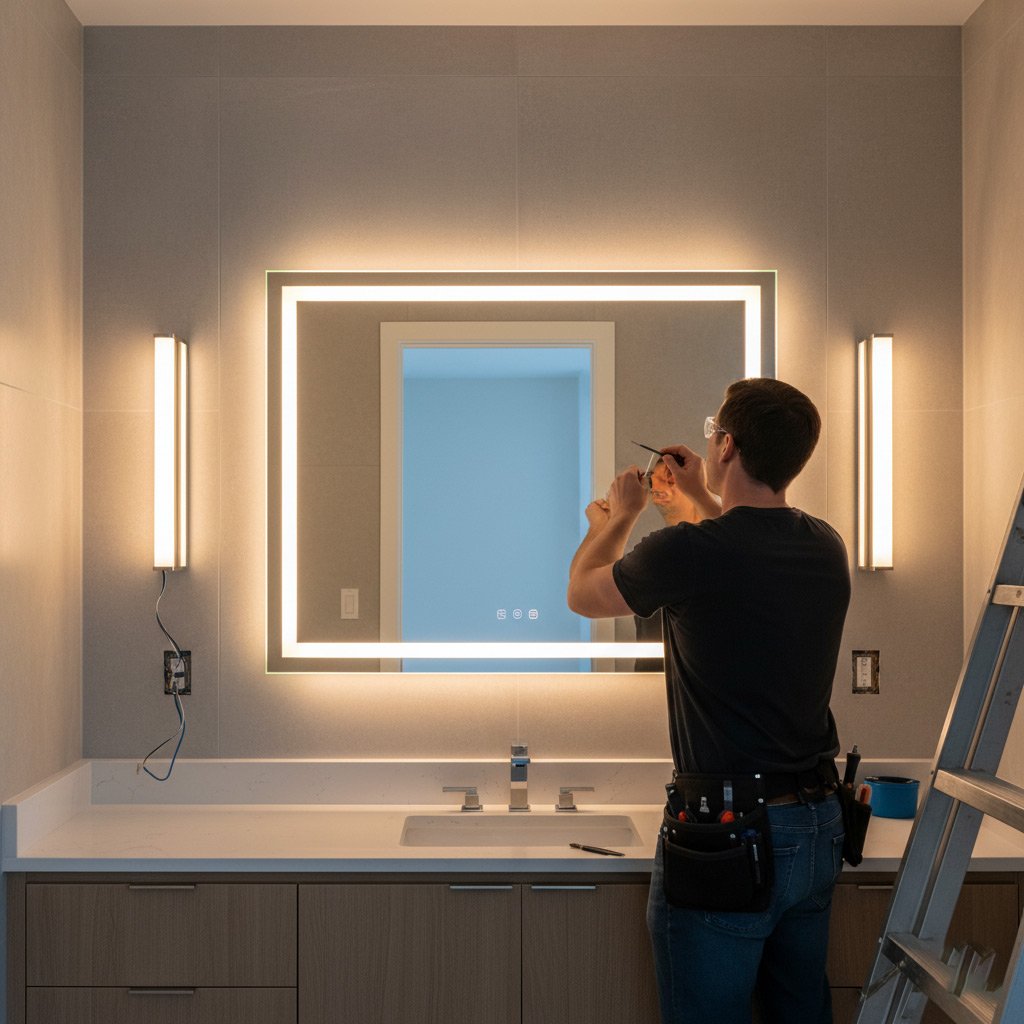
Mistake #4 – Overlooking Permits and Professional Installation Requirements
Why the paperwork matters
In El Mirage, a walk‑in tub isn’t just a fancy bathtub; it’s a structural addition that triggers city codes. Skipping the permit process can land you with fines, forced removal, or insurance headaches.
One missed signature can turn a dream soak into a legal nightmare. The city wants to know the tub’s weight, plumbing changes, and electrical safety.
What you actually need
Before the first tile goes down, gather these items:
- Building permit from the El Mirage Planning Department
- Plumbing permit if you’re rerouting supply or waste lines
- Electrical permit for any built‑in jets, lights, or heated seats
- Proof of contractor licensing and insurance
Having them in hand shows the inspector you’re serious and keeps the project on schedule.
Hire a pro, not a DIY hero
Even if you’re handy, a certified installer knows the code nuances that can trip you up. They’ll:
- Verify floor joists can bear the tub’s load
- Seal all connections to meet waterproofing standards
- Coordinate inspections so you don’t waste time waiting
Think of the installer as your shortcut through red tape. A small fee now saves you from costly re‑work later.

Mistake #5 – Neglecting Accessibility, Safety, and Comfort Features
Grab Bars and Handrails
Skipping sturdy grab bars is a shortcut you’ll regret. Secure handrails give confidence when stepping in and out, especially on hot El Mirage days when the floor can get slick.
- Place a bar at the entry side, within easy reach.
- Install a second bar along the longer wall for extra support.
- Choose stainless steel or brushed nickel to match the tub’s finish.
Comfort Add‑Ons That Matter
Luxury isn’t just about looks; it’s about feeling good every time you soak. Heated seats keep you warm, while a built‑in backrest reduces strain on the lower back.
- Low‑profile, anti‑slip flooring prevents accidental slides.
- Adjustable water jets let you target sore muscles.
- Soft‑close doors eliminate the “slam” that can startle seniors.
Safety Controls and Emergency Features
Even the best tub can become a hazard without proper safeguards. Thermostatic controls stop the water from overheating, a common cause of burns.
- Install a pull‑cord or wireless panic button within arm’s reach.
- Use slip‑resistant coating on the tub’s interior.
- Consider a low‑threshold entry to eliminate tripping risks.
Case Study – Turning a Standard Bathroom into a Walk‑In Tub Oasis in El Mirage
The Starting Point
When the Martinez family called, their bathroom looked like any other 8‑by‑10 slab in El Mirage – cramped, outdated, and missing any hint of luxury. They wanted a walk‑in tub that could handle the desert heat and give Mom a safe spot to unwind after work. The biggest obstacle? A tiny footprint and a concrete slab that hadn’t been checked for load capacity.
The Transformation
Our crew began by re‑measuring every wall, door, and vent. We discovered a hidden 2‑inch gap behind the vanity that could be reclaimed for a wider tub entrance. Next, we reinforced the floor with steel joists and a plywood sandwich, ensuring the new tub wouldn’t sag under water weight. Finally, we installed a custom‑fit tub, a linear drain, and a waterproof membrane that sealed every seam.
- Floor reinforcement: steel joists + ¾‑in plywood
- Drain solution: linear drain with back‑flow preventer
- Waterproofing: 2‑layer membrane + sealant tape
The Payoff
Six weeks later the Martinez bathroom looked like a spa retreat. Mom now slides into a heated, jet‑filled tub that’s *right* at eye level, eliminating the bend‑over strain she used to feel. The family saved $4,200 by avoiding a full remodel, and the home’s resale value jumped thanks to the high‑end upgrade. In short, a smart plan turned a cramped space into a daily oasis.
Final Words
Before you swing that door open, double‑check the basics. A quick glance at your floor plan, a glance at the load rating, and a look at the drainage layout will save you weeks of rework. Small oversights become big bills fast.
Three quick actions to lock it down
- Measure twice, order once – confirm clearances for doors, handles, and the tub itself.
- Ask your contractor for a signed structural report – you’ll know the floor can bear the weight.
- Verify the Walk In Tubs warranty covers installation errors.
When you’re ready to move from plan to reality, bring in a licensed installer who knows El Mirage building codes. They’ll handle permits, waterproofing, and the final safety checks so you can step in and relax without a second thought.
People Also Ask
What is the ideal clearance space around a walk‑in tub?
A minimum of 24 inches of clear space on all sides is recommended to allow safe entry and exit. This also provides room for accessories and cleaning.Do I need to reinforce my bathroom floor before installing a walk‑in tub?
Yes, most walk‑in tubs add significant weight, so the floor must be evaluated and possibly reinforced to meet local building codes. A structural engineer can determine the required joist upgrades.How important is proper drainage for a walk‑in tub?
Proper drainage prevents water damage and mold growth. Installing a dedicated drain line and a waterproof membrane is essential for long‑term durability.Are permits required for installing a walk‑in tub in El Mirage?
El Mirage building codes typically require a permit for any major plumbing or structural changes. Hiring a licensed contractor ensures compliance and avoids fines.What safety features should I consider for a walk‑in tub?
Look for built‑in grab bars, non‑slip flooring, and a low‑step entry threshold. These features enhance accessibility and reduce the risk of falls.El Mirage Bathroom Remodel specializes in comprehensive bathroom renovations, bringing over a decade of craftsmanship to homes throughout El Mirage, Arizona. Their team combines local knowledge with meticulous attention to detail to transform spaces into functional, stylish retreats. Committed to personalized service, they guide each project from design through completion, ensuring results that reflect the community’s unique character.
Need Bathroom Remodel?
We restore your home systems quickly and reliably, delivering fast results across El Mirage (85335) and nearby Glendale, Peoria, and Surprise ZIPs. Our technicians arrive on schedule and complete the work efficiently so you can get back to life.
Get Bathroom Quote